The MacBook Pro A2141 (16-inch, 2019) is a powerhouse—but like all laptops, it’s not immune to screen issues. Whether it’s a cracked display, backlight problems, or strange lines on the screen, replacing the screen on this model is more complex than it looks. Let’s unpack the secrets behind the A2141 screen replacement process.
1. It’s Not Just the Glass
On the A2141, the screen and glass are fused together as one assembly. So if the display is damaged, you’re replacing the entire top lid—LCD, housing, camera, hinges, and all.
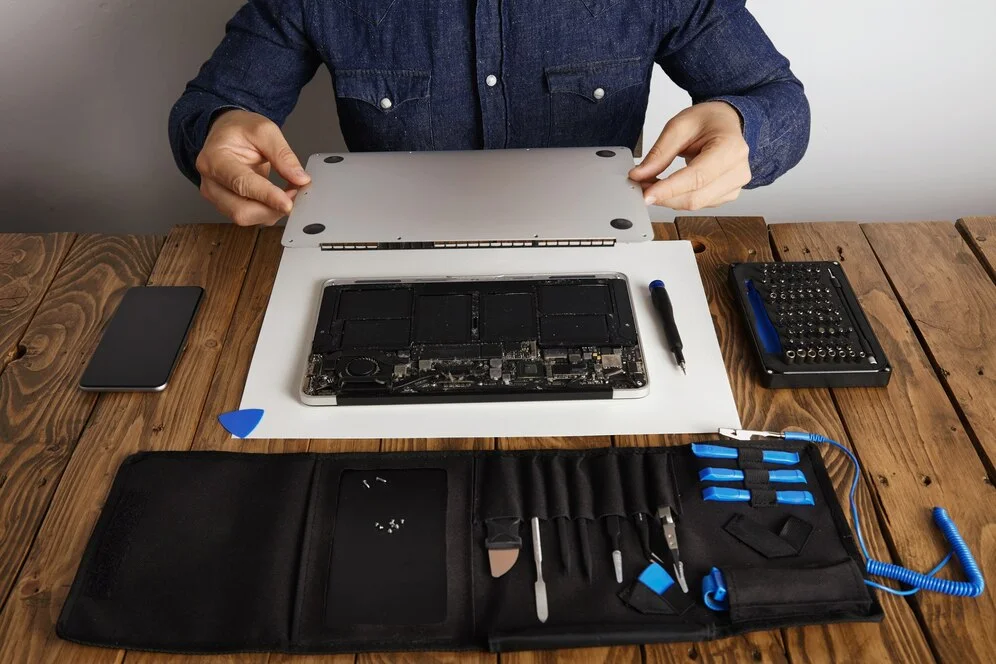
2. Special Tools Are a Must
You’ll need precision screwdrivers (Pentalobe, Torx, Tri-point), a suction handle, spudger, and ideally a magnetic mat to keep track of those tiny screws. Apple doesn’t make it easy on purpose.
3. Disconnecting the Battery is Crucial
Before anything, the battery must be disconnected to avoid shorting the board when unplugging the display cable. Skipping this step risks major damage.
4. Delicate Cables Require Patience
The display cable and camera connectors are fragile. A slight tug in the wrong direction can tear the flex cables—then you’re looking at more than just a screen repair.
5. Flexgate Fix Already Included
Good news: the A2141 doesn’t suffer from the same “Flexgate” issue that older models did. Apple improved the cable design in this model, so replacements are more reliable.
6. Calibration Not Required (Usually)
Unlike iPhones, you don’t usually need to calibrate a new display on the A2141. But make sure your replacement is OEM quality—lower-tier screens may have issues with brightness or color accuracy.
7. Check for Collateral Damage
If your screen was damaged by a drop or pressure, check for hidden issues like a bent chassis or logic board damage. A screen replacement won’t help if there’s deeper hardware damage.
Final Thoughts:
Replacing the screen on a MacBook Pro A2141 isn’t impossible, but it’s definitely not for beginners. If you’re not confident with tiny components and careful disassembly, it’s best left to a certified repair shop.
Categories:

Related Posts


Recent Posts

iCloud Drive Not Syncing On Mac? Easy Tips To Solve
Nov 21, 2025

Which signs show your laptop needs repair
Oct 15, 2025
What to do if the phone is water-damaged
Oct 9, 2025